Hey everyone! Welcome back to my blog, and if you’re new here, a warm welcome to you!
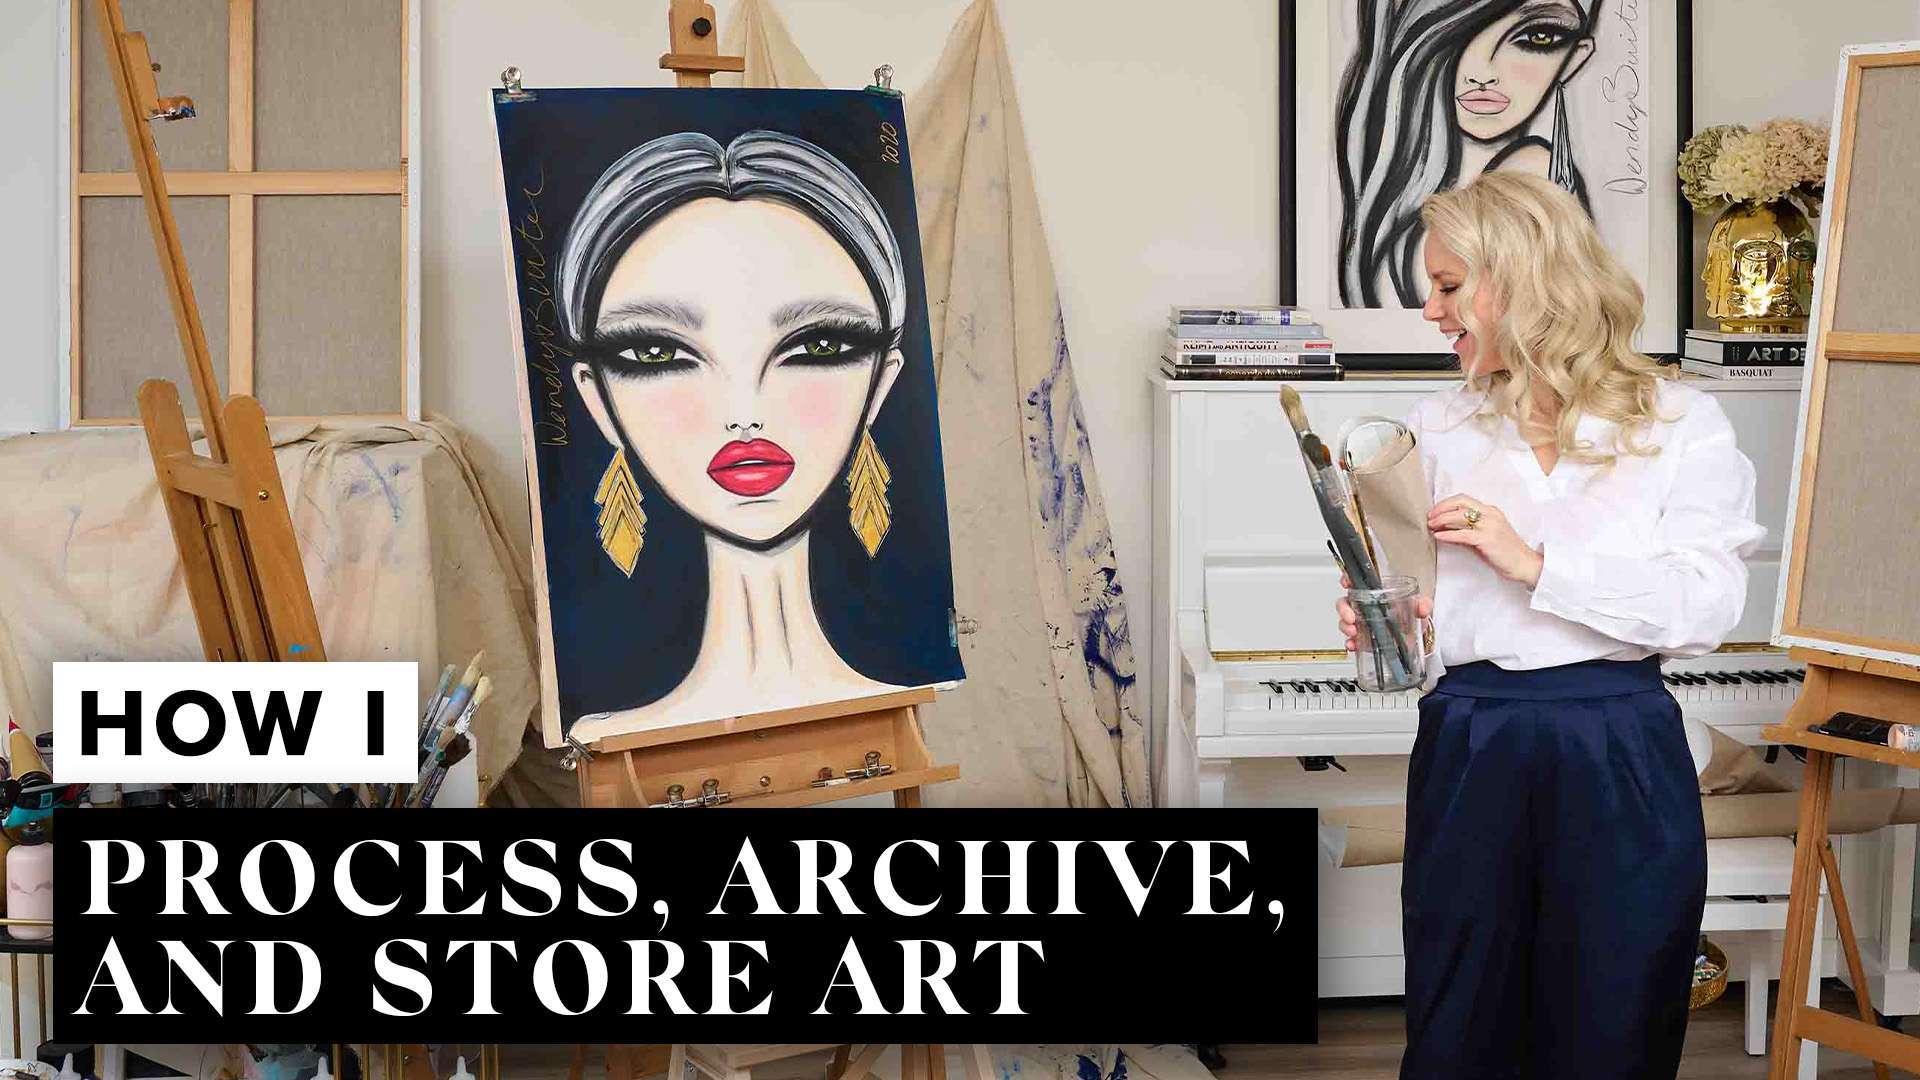
Today, I’m going to share with you how I process, archive, and store my artwork. This guide will provide a general overview of my creative process, how I organize and document my work and the methods I use to store my pieces to prevent damage.
Why It’s Important
First, let’s discuss why it’s crucial to archive and store your artwork properly.
- Increasing the Lifespan of Your Art: Creating a piece of art can take hours, days, or even months. Properly organizing and storing your artwork ensures it lasts longer. Factors like temperature, lighting, humidity, neglect, or mishandling can lead to deterioration, ruining all your hard work.
- Copyright and Legal Protection: While it might seem rare, art can get lost, damaged, or stolen more often than you think. Accidents, human errors, and even theft can occur. Proper documentation and archiving provide insurance coverage and copyright protection.
- Increasing Value and Branding: Galleries, curators, and collectors prefer artworks with provenance records, which document the ownership and authenticity of your work. This makes your art more valuable, marketable, and desirable, leading to higher sales prices.
How I Process Art
The Early Stages
When I started painting full-time 10 years ago, I struggled to develop my artistic identity. Initially, I experimented with oil paints on large, stretched linen canvases but found the process time-consuming and the materials cumbersome.
To streamline my process, I shifted to quick sketching on A4-sized paper with pencils. This allowed me to develop my style more efficiently. I used cheap, simple materials to work freely and push through mistakes quickly, creating thousands of small drawings.
As my confidence grew, I experimented with watercolor and upgraded to higher-quality A3 paper that wouldn’t buckle when wet. I explored various materials, including water-soluble crayons and different brushes. Eventually, I found my preferred brand of paper, Hahnemühle, which I continue to use for its vegan-friendly and ideal watercolor properties.
My Current Process
- Canvas Preparation for Limited Editions: My canvases are made of premium linen, printed, and prepared for painting. This process takes about four weeks due to the drying and shrinking of acrylic paint.
- Sketching and Painting of my Original Masterpieces: I start by sketching my muse with a pencil, then layer it with watercolors and water-soluble crayons. I add touches of acrylic paint and finish with a special fixative for UV protection.
- Final Touches: I sign the front and back of each piece with a metallic acrylic marker, add the piece’s name, year, a sticker on the back, and a certificate of authenticity.
- Packing: I use custom-sized cellophane bags for packing, which are durable, clear, and add a beautiful shine to the presentation.
How I Archive Art
Archiving art involves documenting and organizing pieces both physically and digitally.
- Scanning and Digital Files: A specialized company scans my work, providing high-resolution digital files. These files are stored in separate folders on my computer, cloud, and local network storage for backup.
- Editing: I edit these files in Photoshop, color-correcting, pre-processing for canvas printing, and adding watermarks. I adjust reflections, remove dust, and make the edges larger for canvas stretching.
- Customer Management: I use a customer relationship management (CRM) system to track sizes, client preferences, orders, prices, and other business data. This helps me organize purchase history, contact information, and interactions with customers efficiently.
How I Store Art
Initially, when my artworks were smaller, I laid them on the floor for viewings. As my pieces grew larger, handling them became more challenging.
To solve this, I started using clothing racks to hang my large artworks. Each piece is carefully packed in plastic bags and hung using hangers. This method preserves my paintings and makes them easily accessible for viewings.
The racks are professional-grade with sturdy wheels and bars, ensuring my paintings are secure and stable. I organize my paintings by date for easy retrieval during viewings.
Thank you for reading! I hope you found this guide helpful. If you enjoyed this post, please share it with your friends. For more content about art, marketing, and my life as an artist follow me on Instagram @wendybuiter
I’m excited to announce my academy courses, teaching everything from becoming an artist to developing a masterclass mindset for success. I also offer one-on-one private online mentoring to help analyze your business and overcome any obstacles.
You can find all my courses on WendyBuiter.Academy.
Feel free to say hello on social media, share your thoughts in the comments, and suggest ideas for future posts. Don’t forget to subscribe to support me on my artistic journey. Until next time, cheers!




Leave A Comment
You must be logged in to post a comment.